This project was an ceiling from a 1960,s built home.the ceiling was bead board slat stained and varnished. There was a coat of amber colored varnish on previous finish..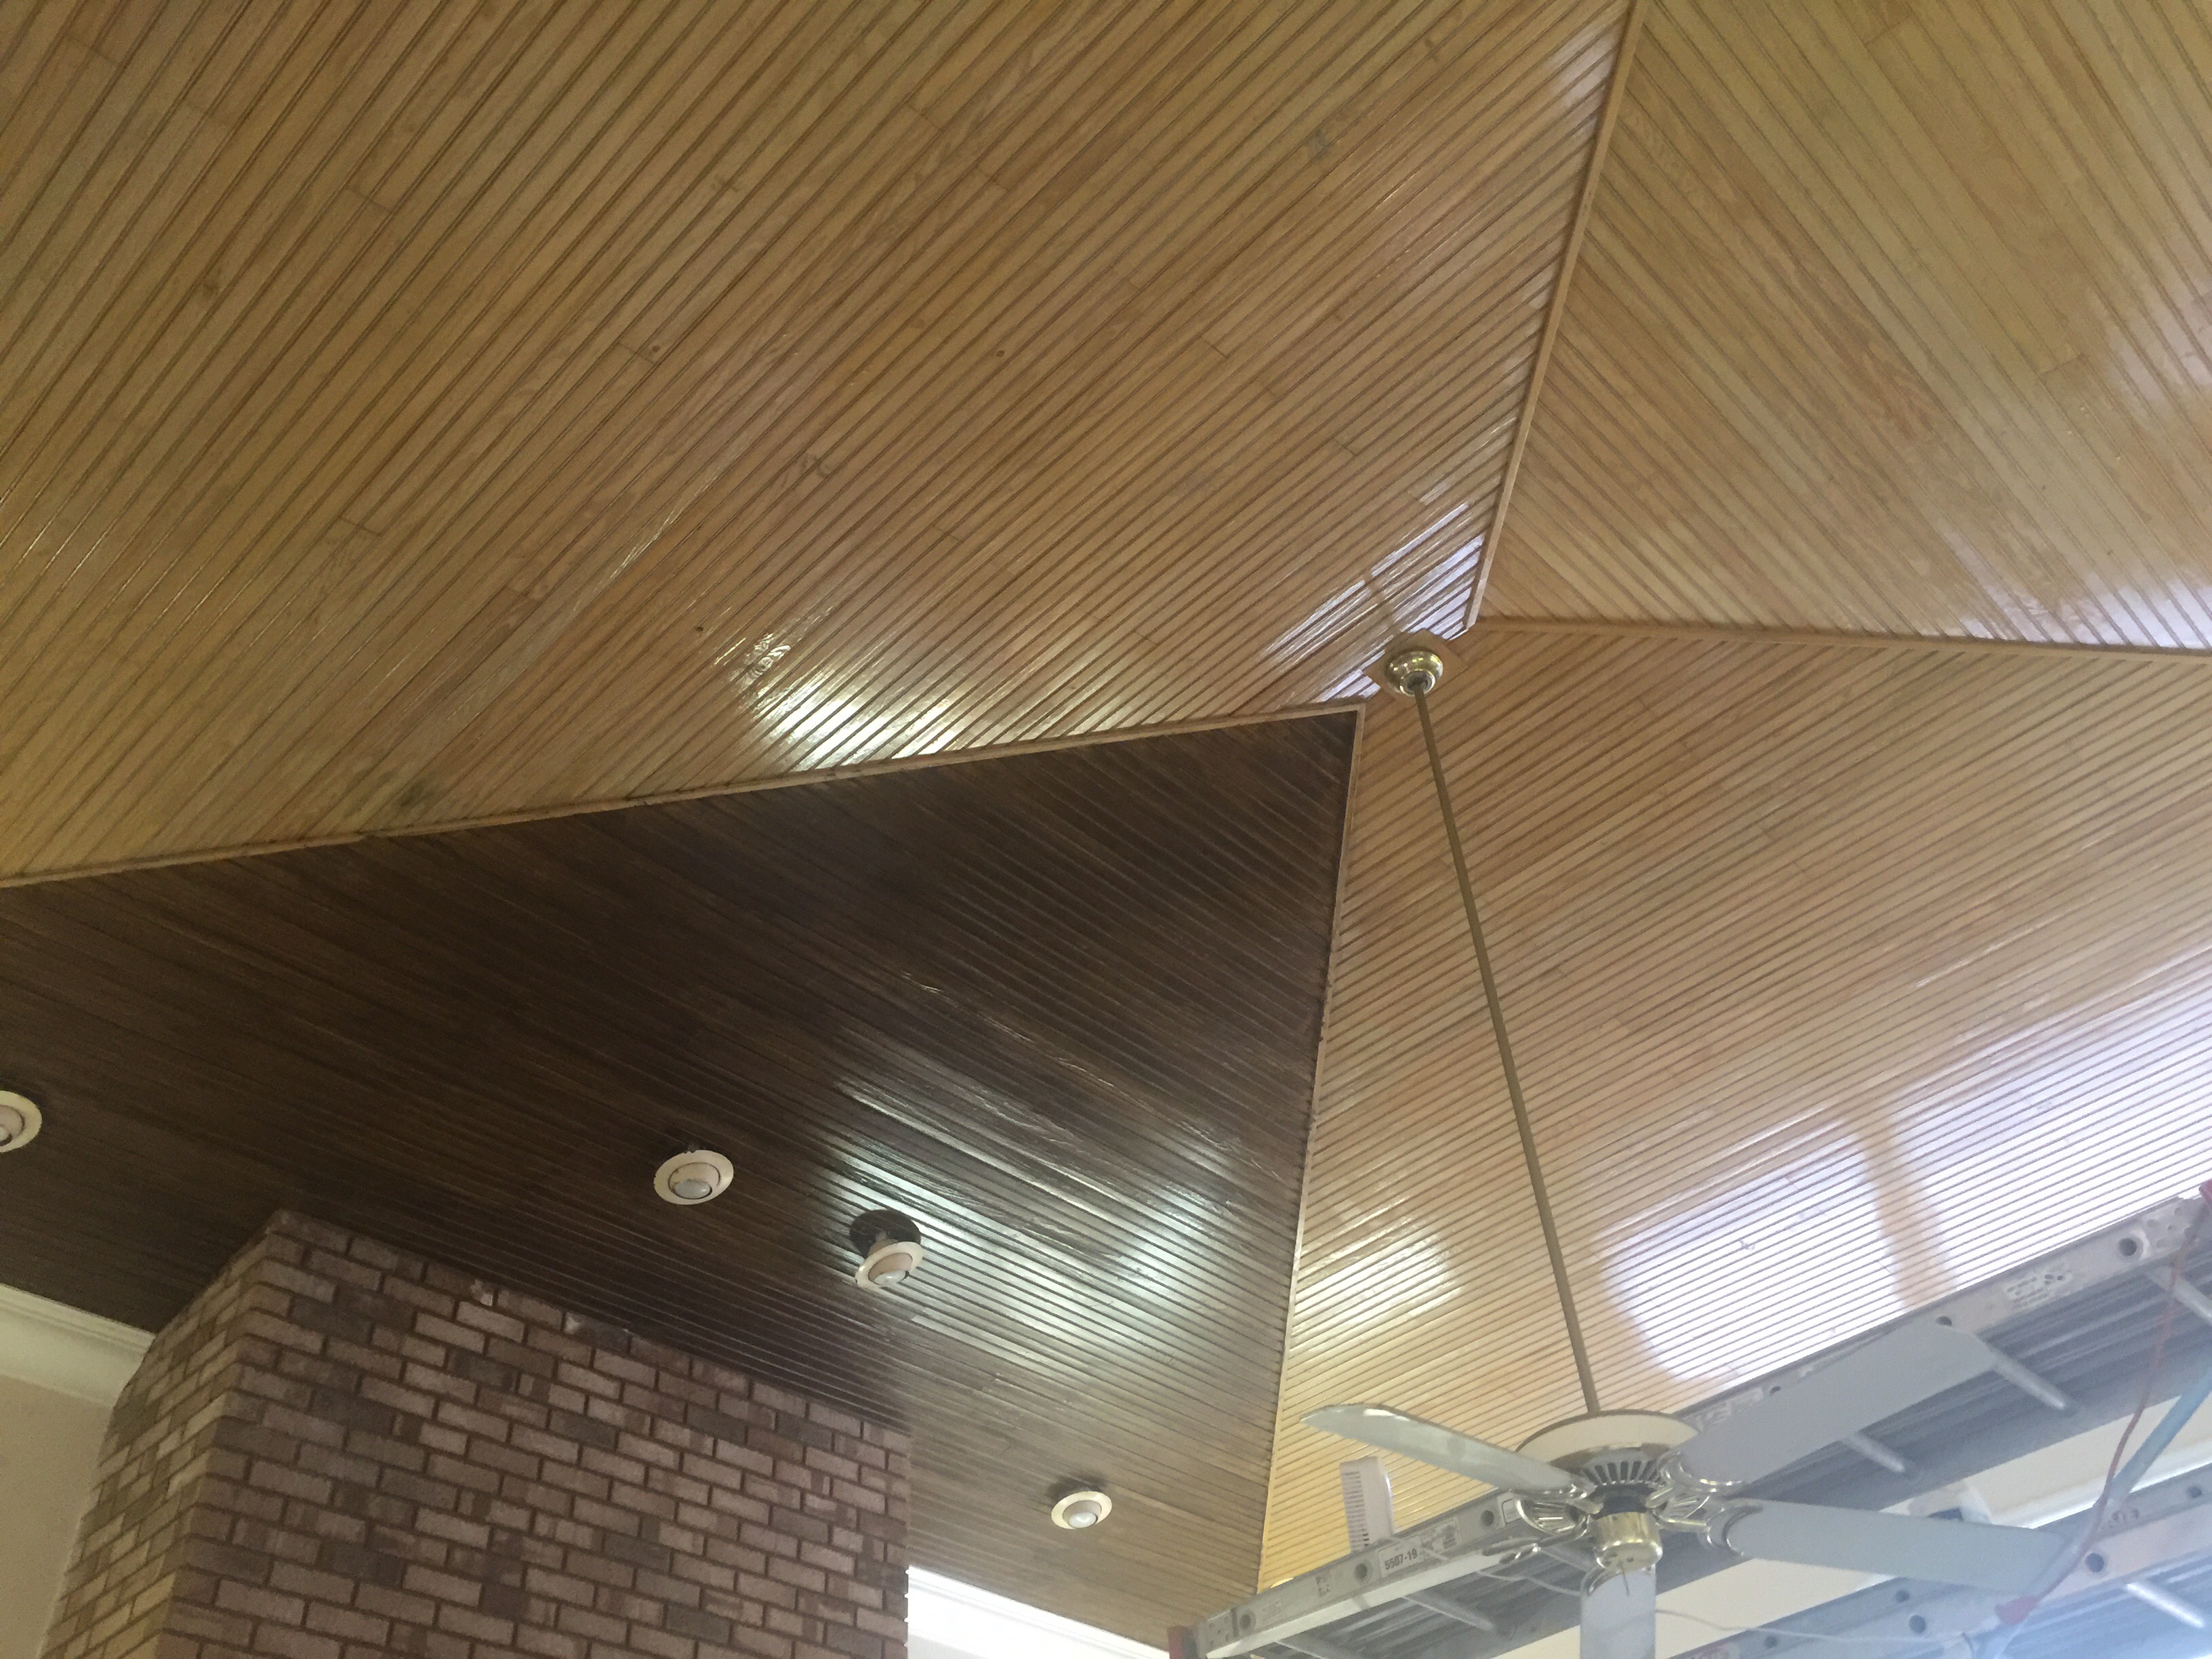 as you can see in the pic the lighter color on 3 sections is what we are redoing . The darker section is first coat of the new color. Since this ceiling is to high and awkward to reach, for our finish coat we are using an all in one finish.. This is a stain and poly in one can..these finishes are little tricky to work with as they do dry fast on such large area..so I recommend that you get some scrap word and practice how to get right brush strokes . Do use a high quality brush..what we did here was to get a non splotch more even finish is to do 2 coats… Just start at one end and only bring across about 3 boards at a time. You must keep moving with even strokes to avoid blotchy high spots.. Just work all way across then work your way back to other side.. After you complete the entire ceiling with the first coat.. Decide how you want do second coat.. Either a heavy coat or just slight brush strokes to fill in as needed.. Remember the idea is to make it look like a stained wood product ..
 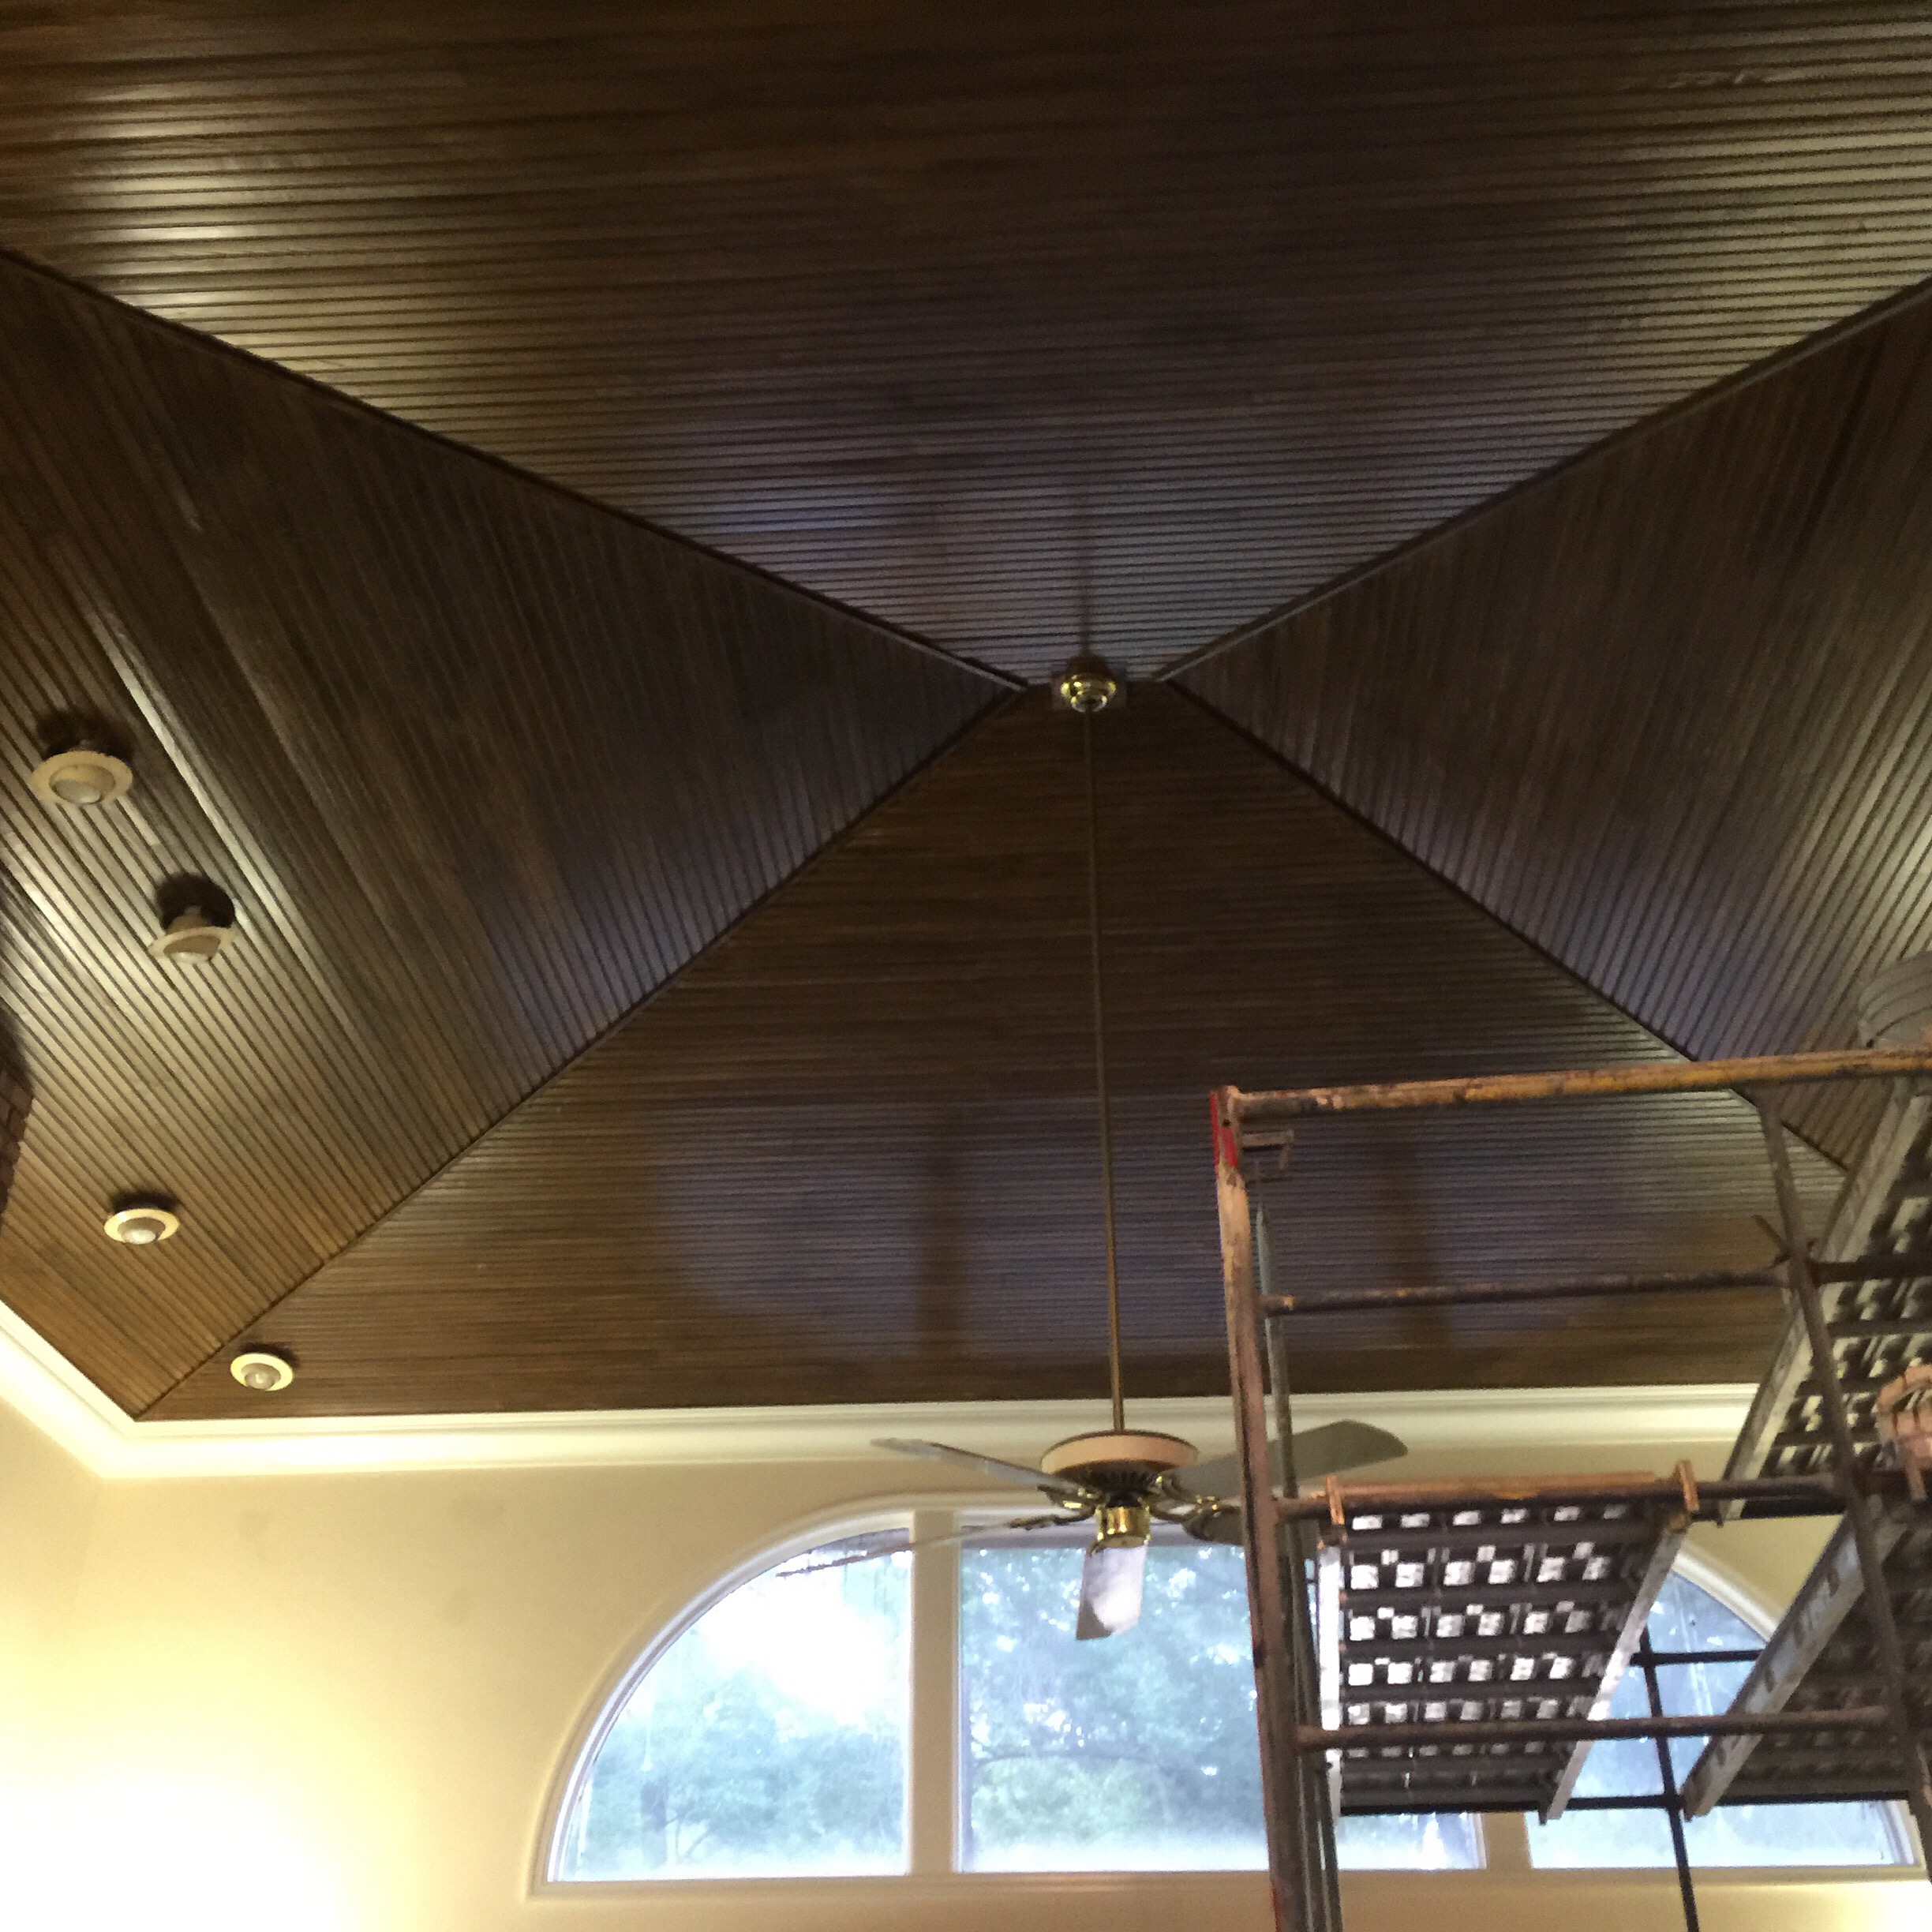 As you can see the improvement of the look after the ceiling is complete.. Since this is an all in one product, you do not have to put any further poly products on.. But to even get a more uniform or protected finish you can add additional costs of varnish..especially if it was an outside project. I would recommend a product called sikkens. It’s very easy to work with and if you use outside provides a better lasting protection .. Please look soon for a cabinet I redid in an all in one finish.. Any questions on this or similar projects you are doing please ask..
- Comment
- Reblog
-
Subscribe
Subscribed
Already have a WordPress.com account? Log in now.
